
Snapseed Guide: Photo Editing Tips
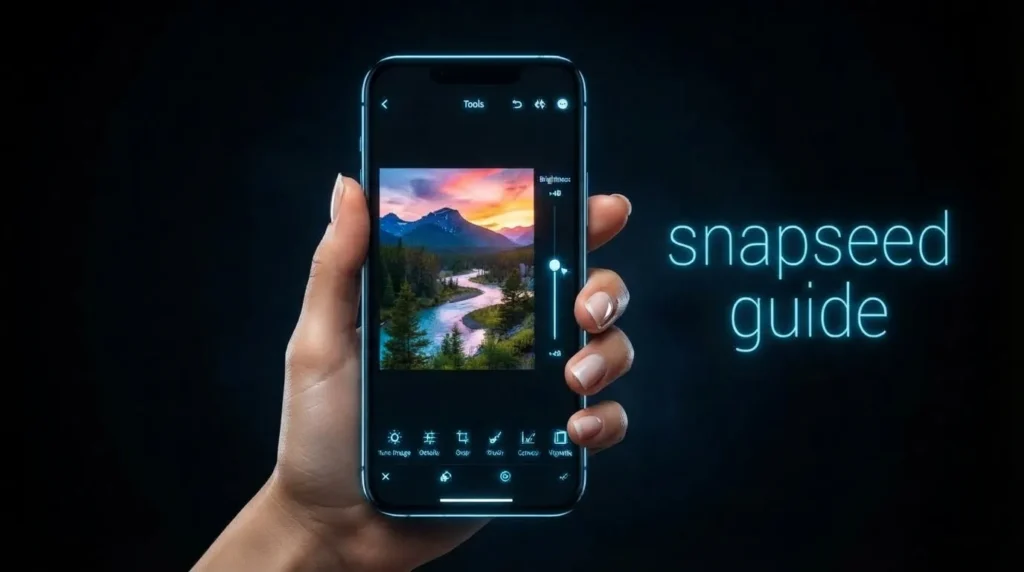
Snapseed is a powerful mobile photo editor for people who want detailed control without the complexity of a desktop editing program. It combines precise adjustments, selective editing, healing, curves, RAW development, creative filters, masking, and other tools in one mobile workflow. This Snapseed guide explains how these features work and how to use them without making your photos look overprocessed.
For beginners, the large collection of editing tools can initially feel confusing. A good Snapseed guide should not simply list features. It should explain which tools matter, when to use them, and how different adjustments can work together to create a cleaner and more natural result.If you want to explore other editing software, photo and video editing app guides on UniversalEdit cover features, workflows, AI tools, and practical editing tips.
Snapseed is developed by Google and has become a popular choice for mobile photographers who want more control than a basic filter application provides. Its current feature set includes more than 30 tools and filters, RAW support, selective editing, smart masking, batch editing, film-style effects, and a non-destructive editing workflow.
What Is Snapseed
Snapseed is a professional photo editing application developed by Google for mobile photography. It provides tools for adjusting exposure, colour, detail, perspective, composition, selected areas, and creative effects from a mobile interface.
The application supports JPG and RAW editing, giving photographers more flexibility when working with images captured on compatible devices. Google also provides dedicated tools for RAW development, selective adjustments, healing, perspective correction, curves, and other editing tasks.
One of Snapseed’s strongest characteristics is its balance between accessibility and control. You can make a quick correction in a few seconds, or build a more detailed edit by combining several tools.
The editing workflow is also non-destructive. You can undo changes, compare the original image with the edited version, and revisit earlier edits through the editing stack.
This makes Snapseed useful for casual photographers, social media creators, travellers, portrait photographers, and users who want to improve their mobile photography skills without immediately moving to desktop software.
Key Features of Snapseed
A useful Snapseed guide needs to look beyond filters because much of the application’s value comes from its correction and adjustment tools. You can control exposure, colour, detail, geometry, selected areas, and creative effects from the same editing environment.
Some of the most useful capabilities include:
- Tune Image: Adjust brightness, contrast, saturation, ambience, highlights, shadows, and warmth.
- Details: Improve structure and sharpening to bring more visible detail into an image.
- Selective: Adjust brightness, contrast, and saturation in specific areas.
- Healing: Remove small unwanted spots and distractions.
- Curves: Gain more precise control over brightness and colour channels.
- White Balance: Correct colour temperature and tint.
- Perspective: Correct distorted lines and improve image geometry.
- Brush: Apply selective exposure, saturation, warmth, or brightness adjustments.
- Double Exposure: Combine two images using different blending options.
- RAW Develop: Process supported RAW files before applying additional edits.
- Creative Effects: Add film looks, black and white treatments, blur, grain, bloom, halation, and other visual effects.
The important point is that you do not need to use every tool. In my practical view, controlled editing usually produces a better photograph than applying multiple effects simply because they are available.
Essential Snapseed Tools for Professional Looking Edits
A strong Snapseed guide becomes more useful when the tools are grouped according to their purpose. Instead of trying to memorise the entire menu, think about editing as a sequence of small decisions.
Start with composition. Crop or straighten the image if the framing needs improvement. If buildings, horizons, or other lines look distorted, use Perspective before making detailed colour adjustments.
Next, correct exposure and overall colour. Tune Image can handle broad adjustments, while Curves gives you more precise control when brightness or contrast needs a more targeted approach.
After global corrections, move toward local adjustments. Selective and Brush can help brighten a face, control the sky, increase the colour of a subject, or reduce attention on a distracting part of the background.
The Details tool can improve perceived texture and sharpness, but it should be used carefully. Excessive structure or sharpening can make skin, foliage, walls, and other textured surfaces appear harsh.
Snapseed also provides a histogram that can help you evaluate the distribution of shadows, midtones, and highlights while making exposure adjustments.
The practical advantage of this workflow is simple: each tool has a specific job. You make fewer unnecessary changes and have more control over the final appearance.
RAW Editing, Selective Editing and Masking
RAW editing is one of the reasons photographers may choose Snapseed instead of simpler mobile editors. RAW files preserve more original sensor information than compressed JPEG images, giving you greater flexibility when adjusting exposure, shadows, highlights, contrast, temperature, and tint.
The RAW Develop workflow provides controls for exposure, shadows, highlights, contrast, structure, temperature, and tint. Once the initial RAW correction is complete, you can continue with other editing tools.
A practical Snapseed guide should also mention that RAW compatibility depends on the device and file format. Android and iOS support can differ, so photographers should test their camera files before building a complete workflow around the application.
Selective editing is another major strength. You can place a control point over a particular area and adjust brightness, contrast, or saturation without changing the entire photograph. Snapseed’s Selective tool uses U Point technology to make targeted adjustments through control points.
This can be particularly useful for portraits, landscapes, food photography, architecture, and street photography. For example, you can brighten a person’s face while leaving the surrounding background darker.
The newer smart masking functionality can also help isolate subjects or backgrounds for targeted edits. This makes local corrections faster when you need to work on a specific part of the frame.
The key is restraint. Local adjustments should support the existing lighting and composition rather than creating obvious patches of brightness or colour.
Healing and Retouching
Snapseed’s Healing tool is designed to remove unwanted spots and small distractions from photographs. It can be useful for cleaning dust marks, minor blemishes, small objects, and other unwanted elements.
For better results, zoom into the area you want to correct and use small strokes instead of covering a large section in one movement. The surrounding texture and background pattern can affect the result, so complicated objects may require several smaller corrections.
A good Snapseed guide should distinguish between simple cleanup and complex object removal. Healing is effective for many small distractions, but it is not a replacement for specialised desktop retouching in every situation.
For portrait photography, the tool can help clean minor distractions while keeping the overall photograph natural. For street photography, it can remove small objects that interrupt the composition.
Healing can also be combined with cropping and perspective correction. Fixing the composition first can sometimes reduce the amount of unwanted content that needs to be removed later.
The biggest mistake is overusing retouching. If the correction becomes visible after you stop looking at the image as a whole, the adjustment may have gone too far.
Filters, Looks and Creative Effects
napseed includes a broad collection of filters and creative tools for photographers who want to create a specific visual mood. These include film-style effects, black and white treatments, grain, bloom, halation, lens blur, vignette, and other creative adjustments.
The current app listing highlights realistic film simulations along with effects such as Halation, Bloom, and Grain.
Filters work best when they complement the photograph. A strong image may only need a subtle film effect or a small contrast adjustment rather than a heavy preset.Photographers interested in film inspired presets and aesthetic photo editing can also explore VSCO for a different creative approach.
You can also customise many effects instead of accepting their default appearance. This gives you more control over intensity and makes it easier to create a consistent visual style.
The order of edits can matter as well. Snapseed’s own help documentation notes that applying tools and filters in different sequences can change the final result.
This is an important part of a Snapseed guide because beginners often focus only on which filter to choose. In practice, the sequence of corrections can have just as much impact as the filter itself.
For a natural look, correct the photograph first and apply creative effects afterward. This gives you a stronger base image and makes it easier to judge how much styling is actually needed.
Double Exposure and Creative Composition
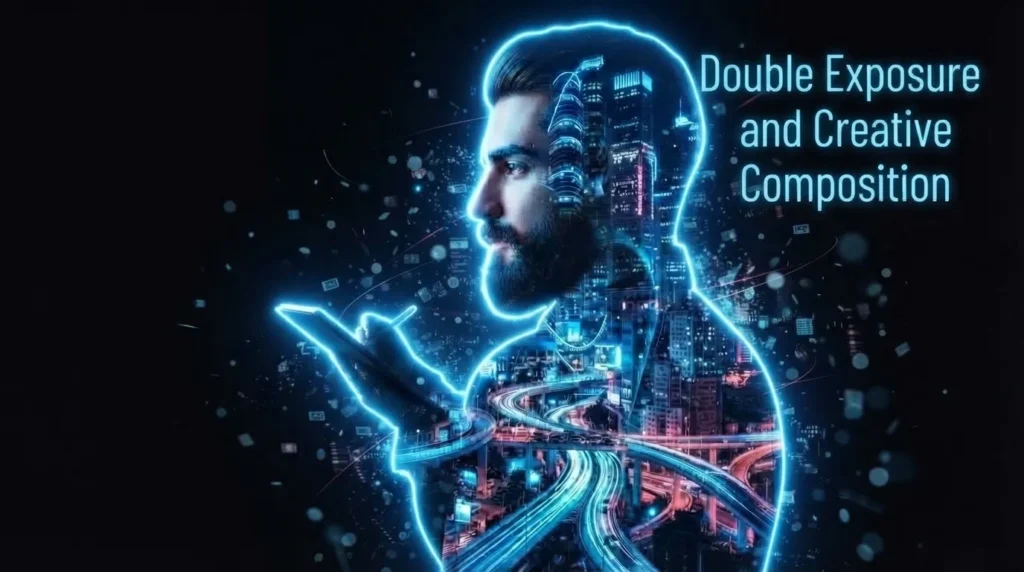
The Double Exposure tool lets you combine two images using blending modes and opacity controls. It can be used for creative portraits, silhouettes, abstract compositions, textures, and experimental photography.
A simple approach is to begin with a clear base photograph and then introduce a second image with strong shapes or contrasting tones. Adjusting opacity can help the two photographs blend without allowing one image to completely overpower the other.
This is one area where a Snapseed guide can move beyond basic photo correction and explore creative image making. The app is not limited to fixing exposure or colour. It can also be used to build visual compositions from multiple photographs.Creators who enjoy more experimental edits, collages, overlays, and creative compositions can also explore Picsart for additional creative editing options.
For stronger results, consider how the two images interact before blending them. Similar lighting directions, compatible shapes, intentional negative space, and contrasting textures can make a composite feel more coherent.
Double Exposure can be particularly interesting for creative portraits. A portrait combined with leaves, architecture, clouds, or textured surfaces can create a layered effect while keeping the main subject recognisable.
The best composites usually have a clear visual idea. Adding multiple images without a specific purpose can make the result feel crowded.
Beginner Workflow and Photography Types
If you are new to mobile photo editing, do not try to learn every feature in one session. A simple workflow is easier to understand and repeat.
Open your photograph and first check the composition. Crop or straighten it if necessary. Then correct exposure and white balance before making stronger colour changes.
After global adjustments, use Selective or Brush for specific areas. Apply Healing only where needed, then add a filter or creative effect at a low intensity if the photograph benefits from it.
A practical Snapseed guide should also encourage you to compare the edited photograph with the original regularly. This helps you notice when an adjustment has gone too far.
For portraits, start with exposure, white balance, skin tone, selective adjustments, and subtle portrait effects. Avoid excessive sharpening or structure on skin.
For landscapes, perspective, highlights, shadows, curves, colour adjustments, and selective edits can help create a more balanced result. The goal should be to preserve detail while controlling contrast and colour.
For street photography, black and white, contrast, selective adjustments, Healing, and grain can strengthen the visual character of the photograph.
For food or product photography, accurate white balance, clean backgrounds, controlled saturation, and selective brightness adjustments are often more useful than strong filters.
| Photography Type | Recommended Snapseed Tools | Editing Focus |
|---|---|---|
| Portraits | Tune Image, Selective, Brush, Healing | Skin tone, exposure, and natural detail |
| Landscapes | Curves, Perspective, Tune Image, Selective | Dynamic range, colour, and composition |
| Street Photography | Black & White, Healing, Details, Grainy Film | Contrast, mood, and distractions |
| Food Photography | White Balance, Tune Image, Selective | Accurate colour, brightness, and detail |
| Product Photography | White Balance, Crop, Selective, Healing | Clean background, colour accuracy, and presentation |
The flexibility of these workflows is one reason a Snapseed guide can be useful for different types of photographers. The same core tools can be adapted to different subjects without forcing every image into one visual style.
Export, Sharing, Pros, Limitations and Best Uses
After editing, you need to consider how the photograph will be used. An image intended for social media may need different dimensions from an image being archived, printed, or shared with a client.
Before exporting, review the image at full size and check skin, edges, small objects, shadows, and highlights. Zooming out afterward can help you judge the overall balance.
Snapseed provides a non-destructive editing workflow, allowing you to undo changes and revisit previous edits. Keeping the original photograph separate from the final export is still a sensible habit.
When sharing online, consider the platform’s recommended dimensions and compression. If the photograph looks good inside the editor but appears softer after uploading, the issue may be related to resizing or platform compression rather than the original edit.
A good Snapseed guide should treat export as part of the editing workflow rather than an afterthought. The final photograph should be checked in the environment where people will actually view it.
| Use Case | Recommended Approach | Key Consideration |
|---|---|---|
| Social Media | Resize and review before sharing | Platform compression |
| Personal Photos | Keep edits natural | Preserve original detail |
| Client Work | Check image at full resolution | Export quality and consistency |
| Printing | Review dimensions and sharpness | Final output size |
| Online Portfolio | Use balanced colour and detail | Display quality across screens |
Snapseed Advantages, Limitations and Best Uses
Snapseed’s biggest strength is the amount of control it provides in a mobile environment. It can handle quick corrections, detailed local adjustments, creative effects, and supported RAW workflows without requiring a subscription based editing plan.
Another advantage is its manual approach. You can make small, targeted changes instead of relying entirely on automatic enhancement. This makes the app suitable for photographers who want to understand and control how individual adjustments affect their images.
At the same time, Snapseed has some limitations. The interface can take time to learn when you move beyond basic tools. Mobile editing can also feel less comfortable for very detailed projects involving extensive layers, complex compositing, or large collections of images.
Professional users working on advanced desktop colour workflows, complex visual compositions, or large production projects may prefer dedicated desktop software. Apps such as Photoshop and Lightroom can provide broader workflows for users who need advanced desktop based photo management and editing.For another accessible photo editing option, you can also explore our Pixlr Complete Guide to learn about its editing tools, AI features, effects, and browser based workflow.
| Aspect | Advantages | Limitations |
|---|---|---|
| Mobile Editing | Detailed editing tools in a compact workflow | Smaller screen can make complex edits harder |
| RAW Editing | Supports RAW development on compatible devices | RAW compatibility depends on the device and file |
| Local Adjustments | Selective and Brush tools provide targeted control | Precise adjustments can take practice |
| Creative Effects | Wide range of filters and creative tools | Heavy effects can make images look unnatural |
| Retouching | Healing works well for many small distractions | Complex object removal may require other software |
| Professional Workflows | Useful for quick corrections and mobile photography | Less suitable for large, complex desktop projects |
For everyday photography, travel images, portraits, landscapes, social media photographs, and quick RAW adjustments, Snapseed can still be a highly capable option.
A balanced Snapseed guide should present it as a powerful mobile photo editor rather than claiming that it replaces every desktop application. Its real value comes from giving photographers meaningful control in a compact workflow.
Final Verdict
Snapseed remains a strong choice for photographers who want detailed mobile editing without a complicated subscription based workflow. Its combination of global adjustments, selective editing, Healing, Curves, RAW support, creative filters, smart masking, and non-destructive editing gives it a wide range of uses.
The best way to learn the app is to build your skills gradually. Start with exposure, white balance, cropping, and details, then move into selective adjustments, Curves, Healing, RAW development, and creative effects.
For beginners, the large collection of tools may seem intimidating at first. With a consistent workflow, however, you can learn which adjustments actually improve your photographs and avoid unnecessary changes.
Overall, Snapseed is especially useful for mobile photographers who want more control than a basic filter application provides. This Snapseed guide gives you a practical foundation for exploring the app while keeping your edits controlled, purposeful, and natural.
The app’s latest Google Play listing also highlights features such as batch editing, smart masking, RAW support, non-destructive editing, film simulations, and a Snapseed camera workflow.

3 Comments